Setting Up and Accessing Azure Cognitive Services with PowerShell

Alright folks – we’re going to dive into how you can leverage Azure Cognitive Services with PowerShell to not only set up AI services but also to interact with them. Let’s go!

Prerequisites

Before we begin, ensure you have the following:

  • An Azure subscription.
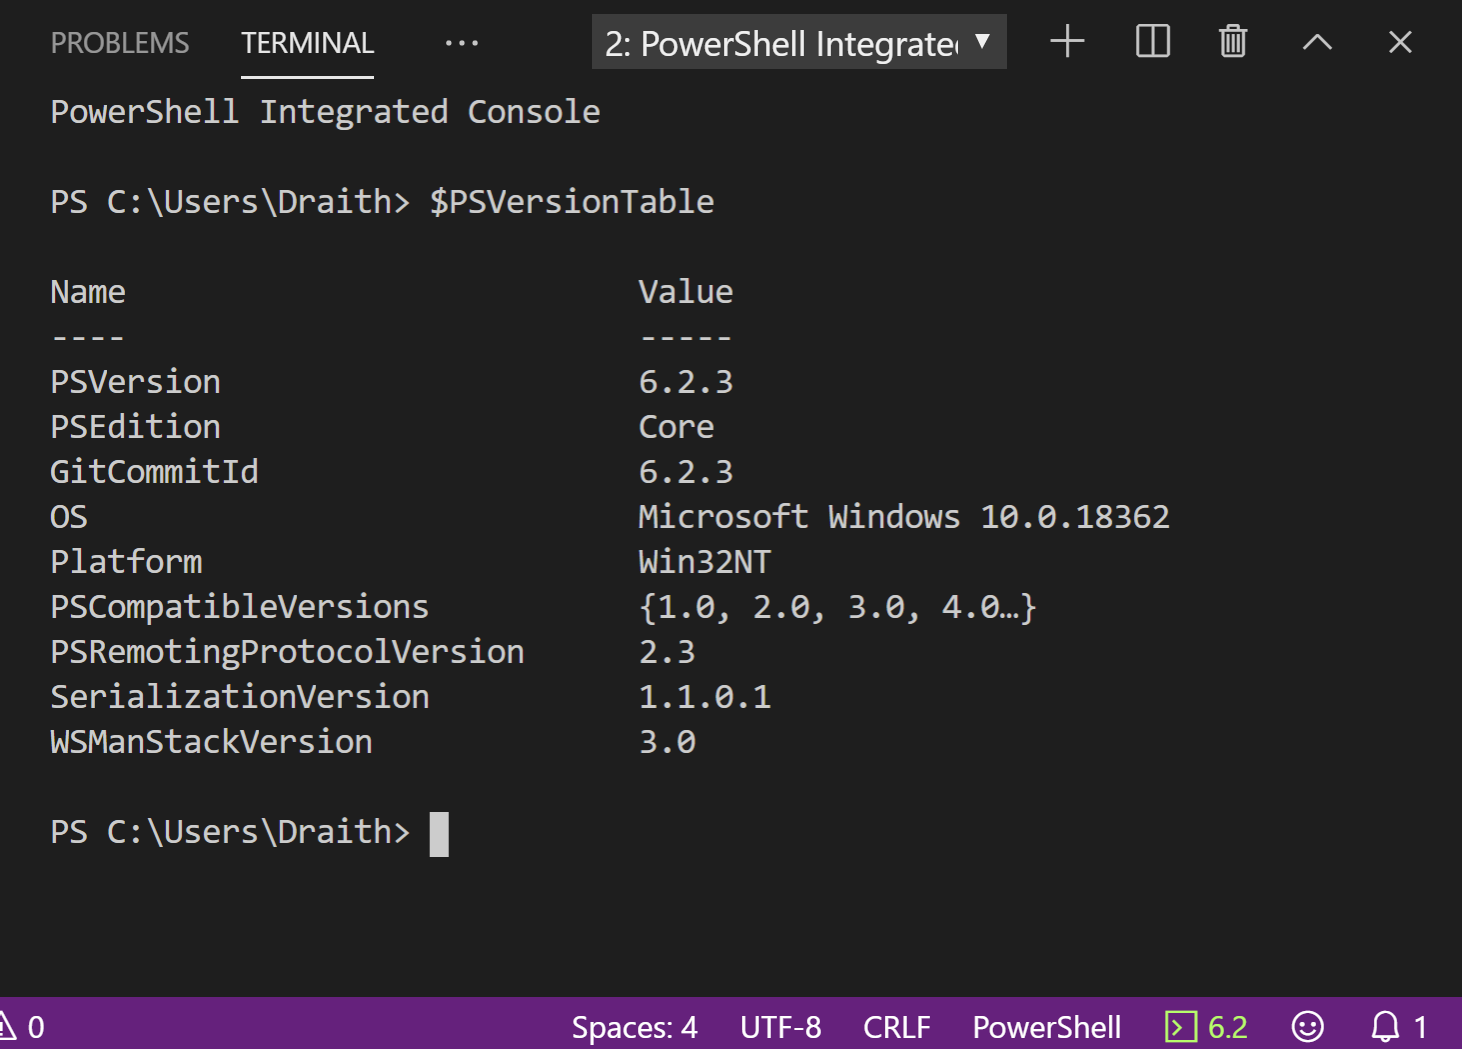
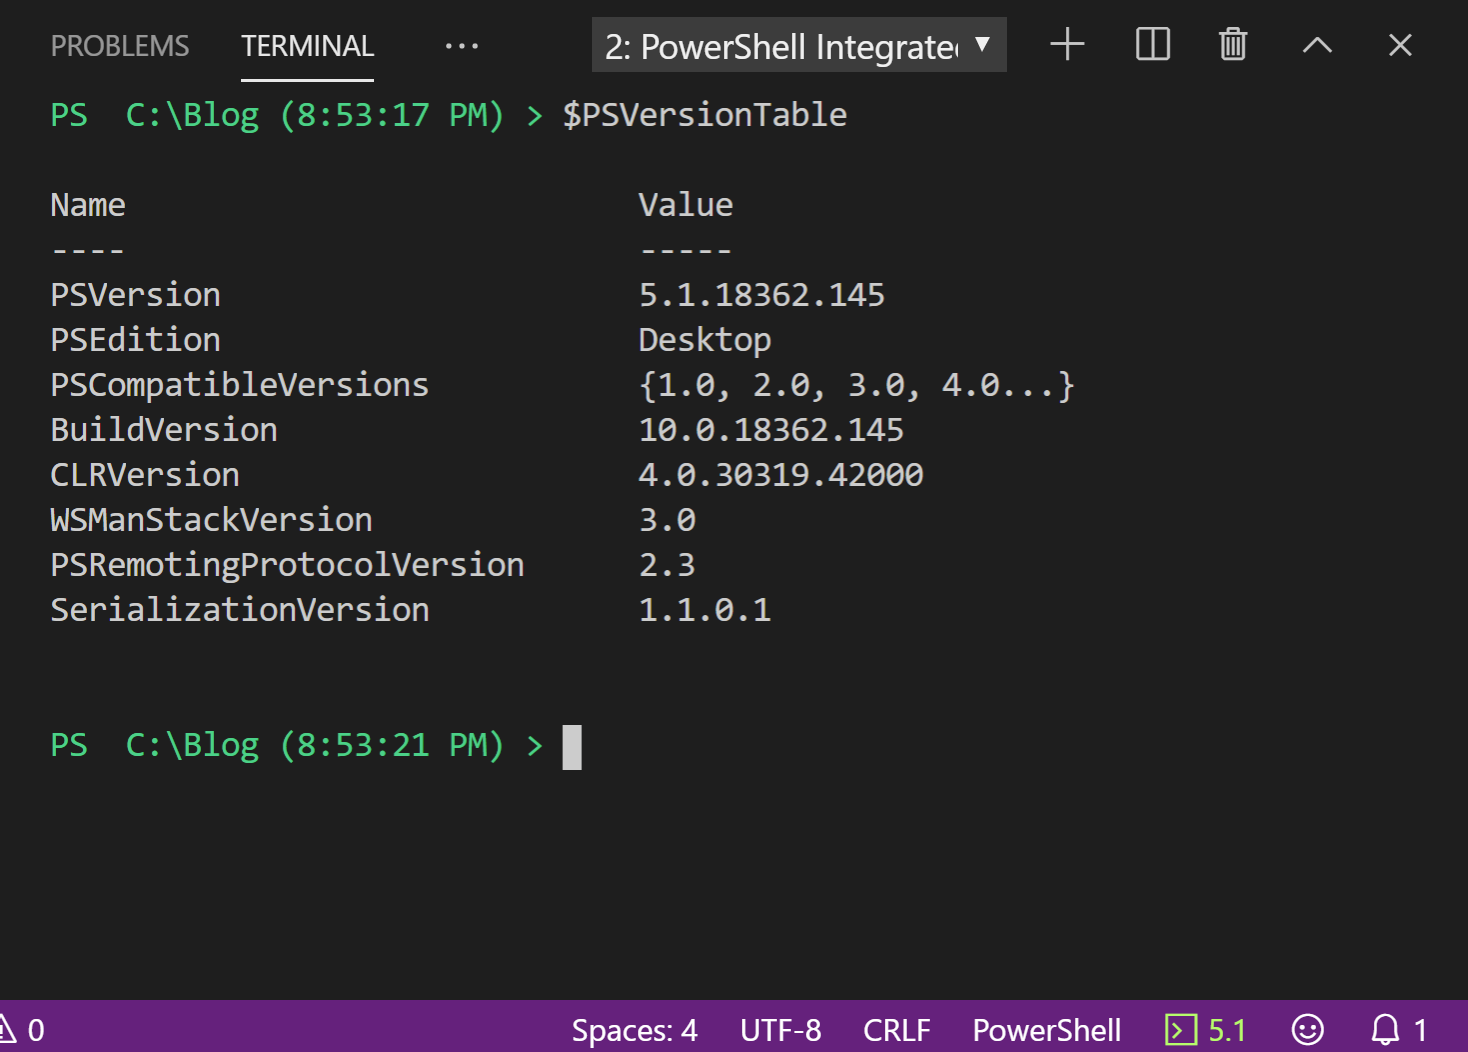
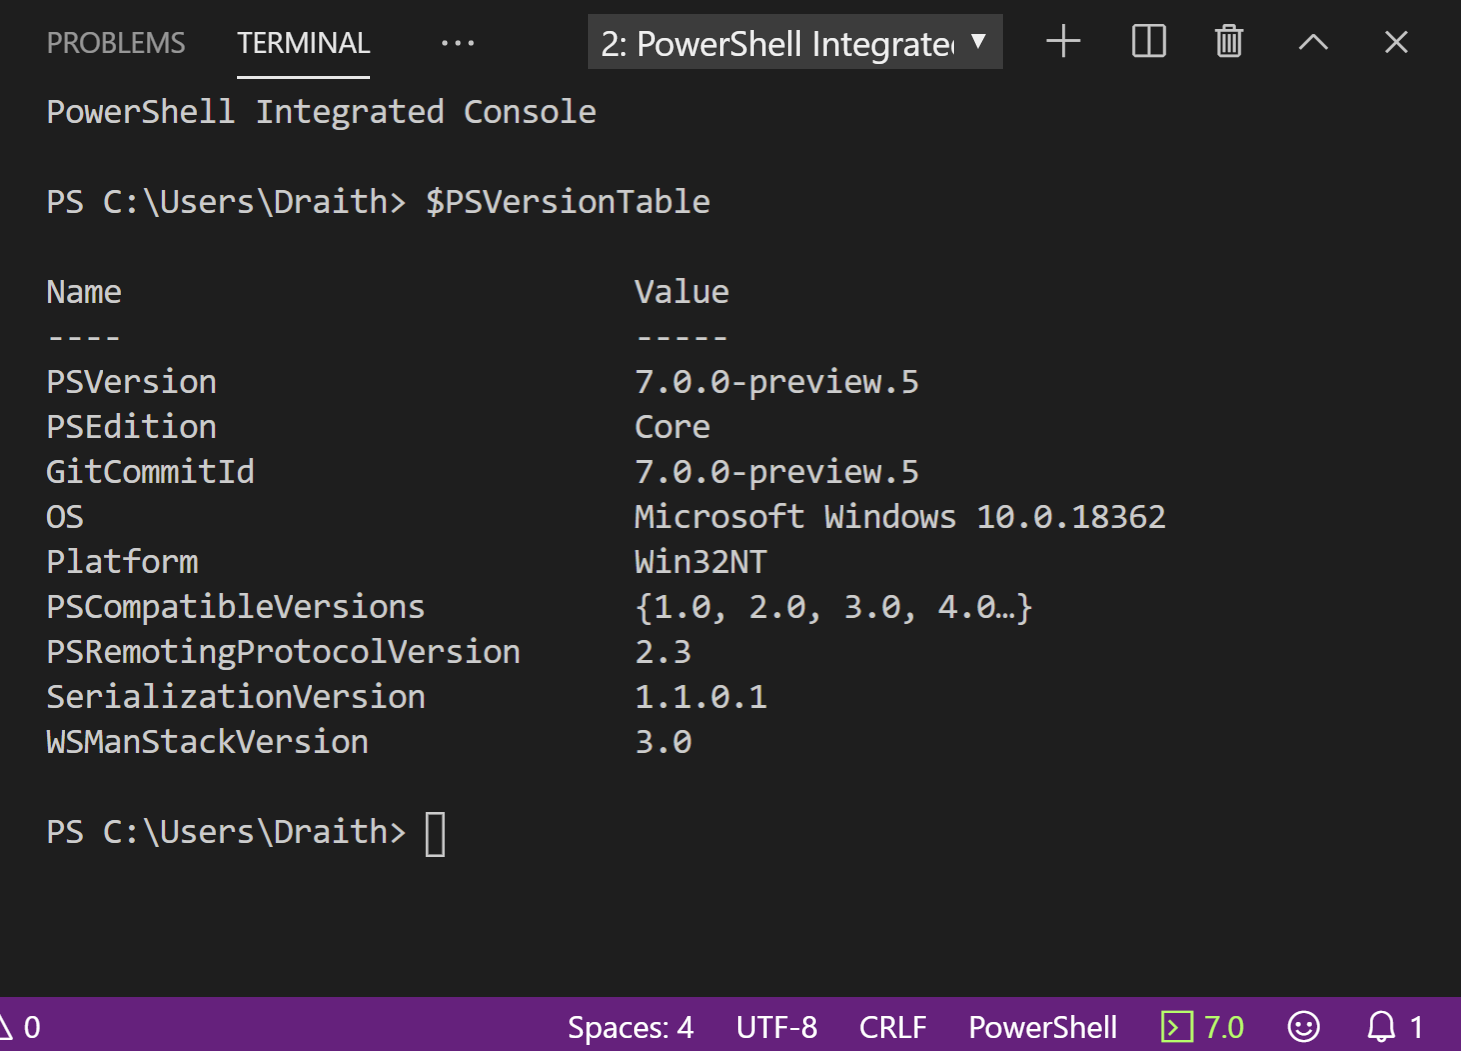
  • PowerShell 7.x or higher installed on your system.
  • Azure PowerShell module. Install it by running Install-Module -Name Az -AllowClobber in your PowerShell session.

Use Connect-AZAccount to get into your subscription, then run this to create a new RG and Cognitive Services resource:

$resourceGroupName = "<YourResourceGroupName>"
$location = "EastUS"
$cognitiveServicesName = "<YourCognitiveServicesName>"

# Create a resource group if you haven't already
New-AzResourceGroup -Name $resourceGroupName -Location $location

# Create Cognitive Services account
New-AzCognitiveServicesAccount -Name $cognitiveServicesName -ResourceGroupName $resourceGroupName -Type "CognitiveServices" -Location $location -SkuName "S0"

It’s that simple!

To interact with Cognitive Services, you’ll need the access keys. Retrieve them with:

$key = (Get-AzCognitiveServicesAccountKey -ResourceGroupName $resourceGroupName -Name $cognitiveServicesName).Key1

With your Cognitive Services resource set up and your access keys in hand, you can now interact with various cognitive services. Let’s explore a couple of examples:

Text Analytics

To analyze text for sentiment, language, or key phrases, you’ll use the Text Analytics API. Here’s a basic example to detect the language of a given text:

$text = "Hello, world!"
$uri = "https://<YourCognitiveServicesName>.cognitiveservices.azure.com/text/analytics/v3.1/languages"

$body = @{
    documents = @(
        @{
            id = "1"
            text = $text
        }
    )
} | ConvertTo-Json

$response = Invoke-RestMethod -Uri $uri -Method Post -Body $body -Headers @{
    "Ocp-Apim-Subscription-Key" = $key
    "Content-Type" = "application/json"
}

$response.documents.languages | Format-Table -Property name, confidenceScore

So this code will try and determine the language of the text submitted. The output might look like this:

Name           ConfidenceScore
----           ---------------
English        0.99

Let’s try computer vision now:

Computer Vision

Azure’s Computer Vision service can analyze images and extract information about visual content. Here’s how you can use PowerShell to send an image to the Computer Vision API for analysis:

$imageUrl = "<YourImageUrl>"
$uri = "https://<YourCognitiveServicesName>.cognitiveservices.azure.com/vision/v3.1/analyze?visualFeatures=Description"

$body = @{
    url = $imageUrl
} | ConvertTo-Json

$response = Invoke-RestMethod -Uri $uri -Method Post -Body $body -Headers @{
    "Ocp-Apim-Subscription-Key" = $key
    "Content-Type" = "application/json"
}

$response.description.captions | Format-Table -Property text, confidence

This code is trying to describe the image, so the output might look like this – pardon the bad word wrap:

Text                            Confidence
----                            ----------
A scenic view of a mountain range under a clear blue sky 0.98

To learn more about Cognitive Services – check out the Docs!

Adding Azure Alert Rules with PowerShell 7

Here is a quick and dirty post to create both Metric and Scheduled Query alert rule types in Azure:

To create an Azure Alert rule using Powershell 7 and the AZ module, you will need to install both Powershell 7 and the AZ module.

PowerShell 7: https://docs.microsoft.com/en-us/powershell/scripting/install/installing-powershell?view=powershell-7.1

To install the AZ module, run the following command in Powershell:

Install-Module -Name AZ

Once both Powershell 7 and the AZ module are installed, you can use the following commands to create an Azure Alert rule.

To create a metric alert rule:

$alertRule = New-AzMetricAlertRule `
    -ResourceGroupName "MyResourceGroup" `
    -RuleName "MyMetricAlertRule" `
    -TargetResourceId "/subscriptions/{subscription-id}/resourceGroups/{resource-group-name}/providers/Microsoft.Compute/virtualMachines/{vm-name}" `
    -MetricName "Percentage CPU" `
    -Operator GreaterThan `
    -Threshold 90 `
    -WindowSize 30 `
    -TimeAggregationOperator Average

And to create a Scheduled Query rule:

$alertRule = New-AzLogAlertRule `
    -ResourceGroupName "MyResourceGroup" `
    -RuleName "MyScheduledQueryAlertRule" `
    -Location "East US" `
    -Condition "AzureMetrics | where ResourceProvider == 'Microsoft.Compute' and ResourceType == 'virtualMachines' and MetricName == 'Percentage CPU' and TimeGrain == 'PT1H' and TimeGenerated > ago(2h) | summarize AggregateValue=avg(MetricValue) by bin(TimeGenerated, 1h), ResourceId" `
    -ActionGroupId "/subscriptions/{subscription-id}/resourceGroups/{resource-group-name}/providers/Microsoft.Insights/actionGroups/{action-group-name}"

You will have to replace the main bits you would expect – ResourceGroupName, Subscription-ID, Action-Group-Name, Location, etc.

Hope this helps!

Azure Monitor Action Group Source IP Addresses

One of the hurdles a company might run into when moving to Azure, especially with Azure Monitor and Log Analytics, is integration with Action Groups. Rarely are the actions of SMS or Email good enough to integrate with an internal Service Management system, so that leaves webhook as the simplest way to get data back into the datacenter. But that leaves one problem – Firewalls.

The Azure backend can change at any time, so it’s important to know what IP addresses the Action Group can originate from – and we can do that with Get-AZNetworkServiceTag.

To start, let’s install the az.network module. I am specifying allowclobber and force, to both update dependencies and upgrade existing modules. Make sure you are running or pwsh window or VSCode as an administrator.

install-module az.network -allowclobber -force
Downloading and Installing

If you aren’t already connected, do a quick Connect-AzAccount. It might prompt you for a username/password, and will default to a subscription, so specify an alternative if necessary.

Once connected, we can run the Get-AZNetworkServiceTag cmdlet. We will specify what region we can to get the information for – in this case, EastUS2.

Get-AzNetworkServiceTag -Location eastus2

The ‘values’ property is what we are after. It contains a massive amount of resource types, regions, and address ranges. In our case, let’s just get the Action Groups, specifically for EastUS2.

(Get-AzNetworkServiceTag -Location eastus2).values|where-object {$_.name -eq 'ActionGroup.EastUS2'}

And there we go! A list of 3 ranges. We can now work on our Firewall rules and make sure the webhook can get back in to the datacenter.

Why not? Pathfinder 2e API and PowerShell

In another of my “Why Not?” series – a category of posts that don’t actually set out to show a widespread use, but rather just highlight something cool I found, I present just how much of a nerd I am.

I love tabletop RPG games – DnD, Pathfinder, Shadowrun, Call of Cthulhu, Earthdawn,etc… You name it, I have probably sat around a table playing it with a group of friends. Our new favorite game to play recently – Pathfinder 2e.

Recently I found something very cool – a really good PF2e character builder/manager called Wanderer’s Guide. I don’t have any contact with the author at all – I am just a fan of the software.

A bit of background before I continue – I have been looking for an API to find raw PF2e data for quite a while. An app might be in the future, but I simply couldn’t find the data that I wanted. The Archive would be awesome to get API access to, but it’s not to be yet.

After moping around for a couple of months, I found this, and an choir of angels began to sing. Wanderers Guide has an API, and it is simple awesome. Grab you free API key, and start to follow along.

We are going to make a fairly standard API call first. Let’s craft the header with the API key you get from your profile. This is pretty straight forward:

$ApiKey = "<Put your Wanderer's Guide API Key here>"
$header = @{"Authorization" = "$apikey" }

Next, let’s look at the endpoints we want to access. Each call will access a category of PF2e data – classes, ancestries, feats, heritages, etc… This lists the categories of data available.

$baseurl = 'https://wanderersguide.app/api'
$endpoints = 'spell', 'feat', 'background', 'ancestry', 'heritage'

Now we are going to iterate through each endpoint and make the call to retrieve the data. But – since Wanderer’s Guide is nice enough to provide the API for free, we aren’t going to be jerks and constantly pull the full list of data each time we run the script. We want to only pull the data once (per session), so we will check to see if we have already done it.

foreach ($endpoint in $endpoints) {
    if ((Test-Path variable:$endpoint'data') -eq $false){
        "Fetching $endpoint data from $baseurl/$endpoint/all"
        New-Variable -name ($endpoint + 'data') -force -Value (invoke-webrequest -Uri "$baseurl/$endpoint/all" -headers $header)
    }
}

The trick here is the New-Variable cmdlet – it lets us create a variable with a dynamic name while simultaneously filing it with the webrequest data. We can check to see if the variable is already created with the Test-Path cmdlet.

Once we have the data, we need to do some simple parsing. Most of it is pretty straight forward – just convert it from JSON and pick the right property – but a couple of the endpoints need a bit more massaging. Heritages and Backgrounds, specifically.

Here is the full script – it’s really handy to actually use out-gridview in order to parse the data. For example, do you want to background that gives training in Athletics – just pull of the background grid and filter away!

$ApiKey = "<Put your Wanderer's Guide API Key here>"
$header = @{"Authorization" = "$apikey" }
$baseurl = 'https://wanderersguide.app/api'
$endpoints = 'spell', 'feat', 'background', 'ancestry', 'heritage'

foreach ($endpoint in $endpoints) {
    if ((Test-Path variable:$endpoint'data') -eq $false){
        "Fetching $endpoint data from $baseurl/$endpoint/all"
        New-Variable -name ($endpoint + 'data') -force -Value (invoke-webrequest -Uri "$baseurl/$endpoint/all" -headers $header)
    }
    else{
        switch ($endpoint){
            'spell' {$Spells = ($spelldata.content|convertfrom-json).psobject.properties.value.spell|Out-GridView}
            'feat'{$feats = ($featdata.content|convertfrom-json).psobject.properties.value.feat|Out-GridView}
            'ancestry'{$ancestries = ($ancestrydata.content|convertfrom-json).psobject.properties.value.ancestry|Out-GridView}
            'background'{$backgrounds = ($backgrounddata.content|convertfrom-json).psobject.properties|where-object {$_.name -eq 'syncroot'}|select-object -expandProperty value|out-gridview}
            'heritage'{$heritages = ($heritagedata.content|convertfrom-json).psobject.properties|where-object {$_.name -eq 'syncroot'}|select-object -expandProperty value|out-gridview}
            default{"Instruction set not defined."}
        }
    }
}

Enjoy!

EASY PowerShell API Endpoint with FluentD

One of the biggest problems that I have had with PowerShell is that it’s just too good. I want to use it for everything. Need to perform automation based on monitoring events? Pwsh. Want to update rows in a database when someone clicks a link on a webpage? Pwsh. Want to automate annoying your friends with the push of a button on your phone? Pwsh. I use it for everything. There is just one problem.

I am lazy and impatient. Ok, that’s two problems. Maybe counting is a third.

I want things to happen instantly. I don’t want to schedule something in task scheduler. I don’t want have to run a script manually. I want an API like end-point that will allow me to trigger my shenanigans immediately.

Oh, and I want it to be simple.

Enter FluentD. What is Fluentd you ask? From the website – “Fluentd allows you to unify data collection and consumption for a better use and understanding of data.” I don’t necessarily agree with this statement, though – I believe it’s so much more than that. I view it more like an integration engine with a wide community of plug-ins that allow you to integrate a wide variety of toolsets. It’s simple, light-weight, and quick. It doesn’t consume a ton of resources sitting in the background, either. You can run it on a ton of different platforms too – *nix, windows, docker, etc… There is even a slim version for edge devices – IOT or small containers. And I can run it all on-prem if I want.

What makes it so nice to use with PowerShell is that I can have a web API endpoint stood up in seconds that will trigger my PowerShell scripts. Literally – it’s amazingly simple. A simple config file like this is all it takes:

<source>
  @type http
  port 9880
</source>

Boom – you have an listener on port 9880 ready to accept data. If you want to run a PowerShell script from the data it receives, just expand your config file a little.

<source>
  @type http
  port 9880
</source>

#Outputs
<match **>
  @type exec
  command "e:/tasks/pwsh/pwsh.exe  -file e:/tasks/pwsh/events/start-annoyingpeople.ps1"
  <format>
    @type json
  </format>
  <buffer>
    flush_interval 2s
  </buffer>
</match>

With this config file you are telling FluentD to listen on port 9880 (http://localhost:9880/automation?) for traffic. If it sees a JSON payload (post request) on that port, it will execute the command specified – in this case, my script to amuse me and annoy my friends. All I have to do is run this as a service on my Windows box (or a process on *Nix, of course) and I have a fully functioning PowerShell executing web API endpoint.

It doesn’t have to just be web, either. They have over 800 plug-ins for input and output channels. Want SNMP traps to trigger your scripts? You can do it. How about an entry in a log starting your PowerShell fun? Sure! Seriously – take a look at FluentD and how it can up your PowerShell game immensely.

Use a Config File with PowerShell

How many times has this occurred?


“Hey App Onwer – all of these PowerShell automation scripts you had our team create started failing this weekend. Did something change?”
“Oh yeah Awesome Automation Team. We flipped over to a new database cluster on Saturday, along with a new web front end. Our API endpoints all changed as well. Didn’t anyone tell you? How long will it take to update your code?”

Looking at dozens of scripts you personally didn’t create: “Ummmmm”

This scenario happens all of the time, and there are probably a hundred different ways to deal with it. I personally use a config file, and for very specific reasons. If you are coding in PowerShell 7+ (and you should be), then making your code cross-platform compatiable should be at the top of your priority list. In the past, I would store things like database connection strings or API endpoints in the Windows registry, and my scripts would just reference that reg key. This worked great – I didn’t have the same property listed in a dozen different scripts, and I only had to update the property in once place. Once I started coding with cross-plat in mind, I obviously had to change my thinking. This is where a simple JSON config file comes in handy. A config file can be placed anywhere, and the structured JSON format makes creating, editing, and reading easy to do. Using a config file allows me to take my whole code and move it from one system to another regardless of platform.

Here is what a sample config file might look like:

{
    "Environments": [
        {
            "Name": "Prod",
            "CMDBConnectionString": "Data Source=cmdbdatabaseserverAG;MultiSubnetFailover=True;Initial Catalog=CMDB;Integrated Security=SSPI",
            "LoggingDBConnectionString": "Data Source=LoggingAG;MultiSubnetFailover=True;Initial Catalog=Logs;Integrated Security=SSPI",
            "ServiceNowRestAPI":"https://prodservicenowURL:4433/rest",
            "Servers": [
                {
                    "ServerName": "prodserver1",
                    "ModulesDirectory": "e:\\tasks\\pwsh\\modules",
                    "LogsDirectory": "e:\\tasks\\pwsh\\logs\\"
                },
                {
                    "ServerName": "prodserver2",
                    "ModulesDirectory": "e:\\tasks\\pwsh\\modules",
                    "LogsDirectory": "e:\\tasks\\pwsh\\logs\\"
                }
            ]
        },
        {
            "Name": "Dev",
            "CMDBConnectionString": "Data Source=testcmdbdatabaseserverAG;MultiSubnetFailover=True;Initial Catalog=CMDB;Integrated Security=SSPI",
            "LoggingDBConnectionString": "Data Source=testLoggingAG;MultiSubnetFailover=True;Initial Catalog=Logs;Integrated Security=SSPI",
            "ServiceNowRestAPI":"https://testservicenowURL:4433/rest",
            "Servers": [
                {
                    "ServerName": "testserver1",
                    "ModulesDirectory": "e:\\tasks\\pwsh\\modules",
                    "LogsDirectory": "e:\\tasks\\pwsh\\logs\\"
                },
                {
                    "ServerName": "testserver2",
                    "ModulesDirectory": "e:\\tasks\\pwsh\\modules",
                    "LogsDirectory": "e:\\tasks\\pwsh\\logs\\"
                }
            ]            
        }
    ]
}

And here is what the code that parses it looks like in each script:

$config = get-content $PSScriptRoot\..\config.json|convertfrom-json
$ModulesDir = $config.Environments.Servers|where-object {$_.ServerName -eq [Environment]::MachineName}|select-object -expandProperty ModulesDirectory
$LogsDir = $config.Environments.Servers|where-object {$_.ServerName -eq [Environment]::MachineName}|select-object -expandProperty LogsDirectory
$DBConnectionString = $config.Environments|where-object {[Environment]::MachineName -in $_.Servers.ServerName}|select-object -expandProperty CMDBConnectionString

Note that in this particular setup, I use the server name of the server actually running the script to determine if the environment is production or not. That is completely optional – your config file might be as simple as a couple of lines – something like this:

{
    "CMDBConnectionString": "Data Source=cmdbdatabaseserverAG;MultiSubnetFailover=True;Initial Catalog=CMDB;Integrated Security=SSPI",
    "LoggingDBConnectionString": "Data Source=LoggingAG;MultiSubnetFailover=True;Initial Catalog=Logs;Integrated Security=SSPI",
    "ServiceNowRestAPI":"https://prodservicenowURL:4433/rest"
}

When you use a simple file like this, you don’t need to parse the machine name – a simple “$ModulesDir = $config |select-object -expandProperty ModulesDirectory” would work great!

Now you can simply update the connection string or any other property in one location and start your testing. No need to “Find in all Files” or search and replace across all your scripts. An added plus is that using a config file vs something like a registry key is that the code is cross-platform compatible. I’ve used JSON here due to a personal preference, but you could use any type of flat file you wanted, including a simple text file. If you use a central command and control tool – something like SMA, then those properties are already stored locally, but this method would be handy for those that don’t have capability or simply want to prepare their scripts for running on K8s or Docker.

Let me know what you think about this – Do you like this approach or do you have another method you like better? Hit me up on Twitter – @donnie_taylor

2 Great Experimental Features in Core 7

In this blog post, I want to drill into a couple of very useful experimental features that are available in PowerShell 7 preview 6.  The two features I want to dive into are ‘PSNullConditionalOperators’ and  ‘skip error check on web cmdlets’.  The former feature was available in preview5, and the latter was made available in preview 6.  Both of these are (as of the writing of this blog) experimental features.  In order to play around with these features, I suggest doing a ‘Enable-ExperimentalFeature *’ and restarting your PowerShell session.  When you are done with your testing, you can always do a “Disable-ExperimentalFeature” to get your session back to normal.

What exactly is ‘PSNullConditionalOperators’?  This specifically refers to the ‘&&’ and ‘||’ operators, which deal with continuing or stopping a set of commands depending on the success or failure of the first command.  The ‘&&’ operator will execute what is on it’s right if the command on it’s left succeeded, and conversely the ‘||’ operator will execute what is on it’s right if the command on it’s left failed.  Probably the best way to picture this is with an example.


Write-Host “This is a good command” && Write-Host “Therefore this command will run”

This is a good command

Therefore this command will run

The first write-host succeeded, and so the second write-host was run.  Now, let’s look at ‘||’.

write-badcmdlet "This is a bad command" || Write-Host “Therefore this command will run”
write-badcmdlet: The term 'write-badcmdlet' is not recognized as the name of a cmdlet, function, script file, or operable program.

Check the spelling of the name, or if a path was included, verify that the path is correct and try again.

Therefore this command will run

Here we can see that the ‘write-badcmdlet’ cmdlet doesn’t exist (if it does, we need to talk about your naming conventions), so the second command was run.  This can replace 3 or 4 lines of code easily – you would normally have to do an if-else block to check the $? variable and see if it was true or false.  You can also get fancy and chain these together for even more checks.

write-badcmdlet "This is a bad command" || Write-Host “Therefore this command will run” && "And so will this one"


write-badcmdlet: The term 'write-badcmdlet' is not recognized as the name of a cmdlet, function, script file, or operable program.

Check the spelling of the name, or if a path was included, verify that the path is correct and try again.

Therefore this command will run

And so will this one

You can see how the 3rd command worked because the 2nd command ran successfully.  Very handy, and dead simple to consolidate code.  They even work with OS commands!  Look at this example using notepad and the non-existent notepad2:

notepad && "Worked fine!"

Worked fine!

notepad2 && "Worked fine!"


notepad2: The term 'notepad2' is not recognized as the name of a cmdlet, function, script file, or operable program.

Check the spelling of the name, or if a path was included, verify that the path is correct and try again.

notepad2 || "Failed!"


notepad2: The term 'notepad2' is not recognized as the name of a cmdlet, function, script file, or operable program.

Check the spelling of the name, or if a path was included, verify that the path is correct and try again.

Failed!


Now on to the second experimental feature – and one that I find amazingly handy.  Often times when you are working with RestAPIs or really any sort of web request, you are dealing with invoke-restmethod and invoke-webrequest.  One major pain point with these cmdlets is that if you get a non-200 error code back from the cmdlet, it returns an actual error object.  Consider this: 

That url doesn’t exist, but the way the error object is returned can be a massive pain!  What if I want to know if it was a 404 vs a 500 vs a 403 and actually want to do something about it?  Dealing with error objects is not the most intuitive, and I much prefer the way the new experimental feature ‘-SkipHttpErrorCheck’ handles this.  With this switch, a returned error code from these cmdlets will not return as an error.  Combine this with ‘-StatusCodeVariable’ and you can now act on the actual error without large try/catch blocks.  You can use switch blocks to route properly based on status code without diving into error objects.  This is a very welcome feature!

PoshAzurelab – starting azure machines in order

aka – please be careful of asking me something

Recently a friend sent me an email asking how to start a series of machines in Azure in a certain order.  These particular machines were all used for labs and demos – some of them needed to be started and running before others.  This is probably something that a lot of people can relate to; imagine needing to start domain controllers before bringing up SQL servers before bringing up ConfigMgr servers before starting demo client machines..  You get the idea.

So, even though we got something for my friend up and running, I decided to go ahead and build a repo for this.  The idea right now is that this repo will  start machines in order, but I will expand it later to also stop them.  Eventually I will expand it to other resources that have a start/stop action.  Thanks a lot, Shaun.

The basics of the current repo are 2 files – start-azurelab.ps1 and config.json.  Start-AzureLab performs the actual heavy lifting, but the important piece is really config.json.  Let’s examine the basic one:

{
    "TenantId": "fffffff-5555-4444-fake-tenantid",
    "subscriptions": [
        {
            "subscription_name": "Pay-As-You-Go",
            "resource_groups": [
                {
                    "resource_group_name": "AzureLabStartup001",
                    "data": {
                        "virtual_machines": [
                            {
                                "vm_name": "Server001",
                                "wait":false,
                                "delay_after_start": "1"
                            },
                            {
                                "vm_name": "Server002",
                                "wait":false,
                                "delay_after_start": "2"
                            }
                        ]
                    }
                }
            ]
        }
    ]
}

The first thing you see is the ‘tenantid’.  You will want to replace this with your personal tenant id from Azure.  To find your tenant id, click help and show diagnostics:

Next, you can see the subscription name.  If you are familiar with JSON, you can also see that you can enter multiple subscriptions – more on this later.  Enter your subscription name (not ID). 

Next, you can see the Resource_Group_Name.  Again, you can have multiple resource groups, but in this simple example there is only one.  Put in your specific resource group name.  Now we get down to the meat of the config.

"data": {
         "virtual_machines": [
          {
                "vm_name": "Server001",
                "wait":false,
                "delay_after_start": "1"
           },
           {
                 "vm_name": "Server002",
                 "wait":false,
                 "delay_after_start": "2"
            }
     ]
}

This is where we put in the VM names.  Place them in the order you want them to start.  The two other properties have special meaning – “wait” and “delay_after_start”.  Let’s look at “wait”.

When you start an Azure VM with start-azvm, there is a property you specify that tells the cmdlet to either start the VM and keep checking until the machine is running, or start the VM and immediately return back to the terminal.  If you set the “wait” property in this config to ‘false’, then when that VM is started the script will immediately return back to the terminal and process the next instruction.  This is important when dealing with machines that take a bit to start  – i.e. large Windows servers.

Now – combine the “wait” property with the “delay_after_start” property, and you have capability to really customize your lab start ups.  For example, maybe you have a domain controller, a DNS server , and a SQL server in your lab, plus a bunch of client machines.  You want the DC to come up first, and probably want to wait 20-30 seconds after it’s running to make sure your DC services are all up and running.  Same with the DNS and SQL boxes, but maybe you don’t need to wait so long after the box is running.  The client machines, though – you don’t need to wait at all, and you might set the delay to 0 or 1.  Just get them up and running and be done with it.

So now we can completely control how our lab starts, but say you have multiple resource groups or multiple subscriptions to deal with.  The JSON can be configured to allow for both!  In the github repo, there are 2 additional examples – config-multigroup.json and config-multisub.json.    A fully baked JSON might look like this:


{
    "TenantId": "ff744de5-59a0-4b5b-a181-54d5efbb088b",
    "subscriptions": [
        {
            "subscription_name": "Pay-As-You-Go",
            "resource_groups": [
                {
                    "resource_group_name": "AzureLabStartup001",
                    "data": {
                        "virtual_machines": [
                            {
                                "vm_name": "Server001",
                                "wait":true,
                                "delay_after_start": "1"
                            },
                            {
                                "vm_name": "Server002",
                                "wait":false,
                                "delay_after_start": "2"
                            }
                        ]
                    }
                },
                {
                    "resource_group_name": "AzureLabStartup002",
                    "data": {
                        "virtual_machines": [
                            {
                                "vm_name": "Server001",
                                "wait":true,
                                "delay_after_start": "1"
                            },
                            {
                                "vm_name": "Server002",
                                "wait":true,
                                "delay_after_start": "2"
                            }
                        ]
                    }
                }
            ]
        },
        {
            "subscription_name": "SubID2",
            "resource_groups": [
                {
                    "resource_group_name": "AzureLabStartup001",
                    "data": {
                        "virtual_machines": [
                            {
                                "vm_name": "Server001",
                                "wait":true,
                                "delay_after_start": "1"
                            },
                            {
                                "vm_name": "Server002",
                                "wait":true,
                                "delay_after_start": "2"
                            }
                        ]
                    }
                },
                {
                    "resource_group_name": "AzureLabStartup002",
                    "data": {
                        "virtual_machines": [
                            {
                                "vm_name": "Server001",
                                "wait":true,
                                "delay_after_start": "1"
                            },
                            {
                                "vm_name": "Server002",
                                "wait":true,
                                "delay_after_start": "2"
                            }
                        ]
                    }
                }
            ]
        }
    ]
}

So there you have it – hope you enjoy the repo, and keep checking back because I will be updating it to add more features and improve the actual code.  Hope this helps!  


Add multiple powershell versions to Vscode

Here is the quick and dirty way to add multiple PowerShell versions to VSCode, and switch between them quickly.

It’s often times advantageous to quickly switch between multiple versions of a programming language when coding to ensure that your code works on multiple platforms.  For me, that is switching between Windows PowerShell and multiple versions of Microsoft PowerShell (PowerShell Core).  He’s how to easily do it in VSCode.

First, I am going to assume you have the PowerShell extension already installed in VSCode.  If not, hit F1 (Ctrl-Shift-P) to open the command palette, and type this


ext install powershell

Now, let’s get some different PowerShell versions.  This is the link to PowerShell 7 preview 5.  Down that and extract it to any directory you want.  In this example I will also be using the latest stable version – 6.2.3.  In this example I have downloaded them both to the c:\pwsh directory.

Open VSCode, and create a new file.  Save the file with a .ps1 extension.  Notice how the terminal automatically starts PowerShell, and that the little green number in the lower right says 5.1?  That’s because VSCode is smart enough to look in common locations for PowerShell versions, and will add those automatically to your session options.  Since we are putting the version in a non-typical location, we have to edit our settings.json.  The easiest way to do it is this is to hit F1 (Ctrl-Shift-P), and type ‘language’.  Select “Configure Language Specific Settings”


You will open the settings.json for your user and language.  If you haven’t done much with VSCode, it probably looks something like this:


{
    "workbench.iconTheme": "vscode-icons",
    "team.showWelcomeMessage": false,
    "markdown.extension.toc.githubCompatibility": true,
    "git.enableSmartCommit": true,
    "git.autofetch": true,
    "[powershell]": {}
} 

To add our new versions, we need to add just a bit to this file.  We are going to add powershell.powerShellAdditionalExePaths settings – in our case 2 of them.  The important parts are to make sure you are escaping the “\” slashes with another slash, and just follow normal JSON formatting requirements.  Continuing with my example, my settings.json looks like this:

{
    "workbench.iconTheme": "vscode-icons",
    "team.showWelcomeMessage": false,
    "markdown.extension.toc.githubCompatibility": true,
    "git.enableSmartCommit": true,
    "git.autofetch": true,
    "[powershell]": {},
    
    "powershell.powerShellAdditionalExePaths": [
        {
            "exePath": "C:\\pwsh\\7.p5\\pwsh.exe",
            "versionName": "PowerShell Core 7p5"
        },
        {
            "exePath": "C:\\pwsh\\6.2.3\\pwsh.exe",
            "versionName": "PowerShell Core 6.2.3"
        }        
    ],
    "powershell.powerShellDefaultVersion": "PowerShell Core 7p5",
    "powershell.powerShellExePath": "C:\\pwsh\\7.p5\\pwsh.exe"
} 

Save the settings file, and if you have an open terminal, either exit it, or crash/reload.  This will force VSCode to reload the settings file.  If you have done it correctly, if you click on the little green version number in the lower right, you should see something like this:

Switch between them, and verify you see the various version with $PSVersionTable

SCOM Incremental discovery

Limitless possibilities – very little code

One of the biggest pet peeves that I’ve had with SCOM discovery is that it was always very agent biased.  If you wanted to discover IIS, for example, the agent would look for the bits and pieces of IIS installed on a server.  While that works fine for most classes and objects, it does pose some limitations.  What if I wanted to add additional properties to an existing object, or mark a server with a custom attribute?  A common work around was to ‘tattoo’ a system with a reg key or perhaps a file, and then discover that via the normal mechanism.  That seems like extra steps for something that should be relatively easy.  I want to run discovery on something other than the agent, and have that discovery data roll up to the agent.

Why would someone want to perform discovery ‘remotely’?  Well, maybe you have a CMDB or an application to server relationship database.  Would you rather put a regkey on every server with the application information, or just query the database?  Imagine being able to have application owner properties (email, phone, manager, etc…) in SCOM as a property for every server, but without having to touch the server at all – no more regkeys or property files.

Microsoft.EnterpriseManagement.ConnectorFramework.IncrementalDiscoveryData

This class – IncrementalDiscoveryData – is an amazingly powerful tool.  The idea is that you can submit additional discovery data for an existing object, or even create brand new objects like normal.  The best way to imagine this is to look at the code itself:


$data = (invoke-sql @DBParams -method query -statement "select * from SomeDataTable").tables.rows 
New-SCOMManagementGroupConnection -ComputerName “localhost”
$mg = Get-SCOMManagementGroup

foreach ($row in $data){
    $class = get-scomclass -displayname $row.ClassName
    $ClassObject=New-Object Microsoft.EnterpriseManagement.Common.CreatableEnterpriseManagementObject($mg,$class)
    $servername = $row.servername
    $ClassObject[$Class.FindHostClass(),“PrincipalName”].Value = "$servername"
    $ClassInstanceDisplayName=$Servername
    $ClassObject[$Class,“AppID”].Value = $row.AppID
    $ClassObject[$Class,“MonitorCI”].Value = $row.MonitorCI
    $discovery=New-Object Microsoft.EnterpriseManagement.ConnectorFramework.IncrementalDiscoveryData
    $discovery.Add($ClassObject)
    $discovery.Overwrite($mg)
}

The first 3 lines are pretty straight forward.  A simple function that querys a database (invoke-sql), creating a connection the the local management server, and getting the management group.

Then we go row by row with what’s in the table.  In this case the table looks something like this:

ClassName ServerName AppID MonitorCI
Microsoft.Windows.Computer server01 COTS1 AssignmentGroup1
Microsoft.Windows.Computer server02 Custom2 AssignmentGroup2

The code is going to get the class (in this case $row.classname, which is Microsoft.Windows.Computer), then create a new instance of that class (even if the object exists – we won’t overwrite anything not in the discovery data).  We find the host using the servername , add a couple of our new attributes – AppID and MonitorCI – and then create our discovery object.  That is where the magic happens – 

$discovery=New-Object Microsoft.EnterpriseManagement.ConnectorFramework.IncrementalDiscoveryData

This is the bit that creates the actual discovery object.  Since it’s incremental, we aren’t going to mess with anything already in that object, just update the bits that we add to the discovery object.  In this case, we are adding the $ClassObject that we populated with our additional bits of data – AppID and MonitorCI.    Two more lines, and we have our remotely discovered data as properties in our server object.

    $discovery.Add($ClassObject)
    $discovery.Overwrite($mg)

With just that little bit of code we are able to store attributes, properties, configurations, or anything else in a central database and have a simple PowerShell script that updates the objects in SCOM with that discovery data!  Not only that, those items are not rolled up to some random object, we can roll them up to the exact object we want.  No more regkey tattoos, or configuration files that you have to keep update to date on servers.