Ever wanted to turn your kitchen lights off from a command line?
OF COURSE YOU HAVE.
In another addition of my ‘Why Not?’ series, I explore how to bring the power of IFTTT and SmartThings to PowerShell.
SmartThings is a home automation suite that consists of a central hub, z-wave or Zigbee switches, outlets, light bulbs, smoke detectors, water sensors, etc… Thousands of devices exist that integrate with the SmartThings system, and it has an accessible API. I swear, this is not a paid advertisement. It just happens to be the system I use in my home automation. One night I was sitting at home wondering why I had to use an app or even my Harmony remote to turn off the lights in my man-cave. I was working on a PowerShell script, and that’s when it hit me – ‘Why Not?’ – Why can’t I use PowerShell to turn those off these lights?
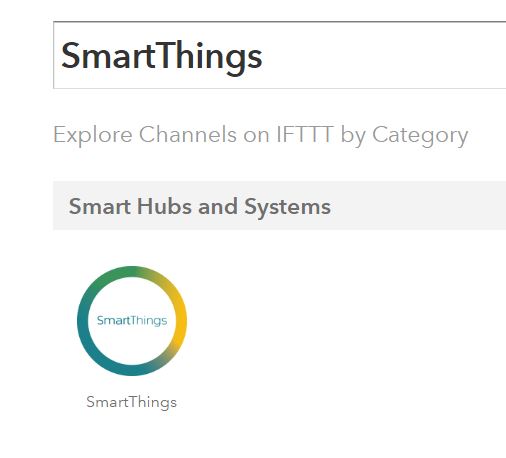
Let’s assume you have SmartThings setup in your home already, and that you have signed into the https://graph.api.smartthings.com/ portal at least once. If that is done – we simply need to head over to IFTTT. If you need a primer on IFTTT, head here: https://ifttt.com/wtf. Yeah, I am NOT going to change that link – it’s awesome. If you already have an IFTTT account, sign in. If not, sign up. Once signed in, we will want to add a new channel. The channel we want to add, ironically enough, is called SmartThings. Click on the “Channels” link, search for SmartThings, and click on the Icon (should be the only one returned if you search correctly). Click the Icon.
Now click on the GIANT connect button on the right hand side. It will take you to the SmartThings Api login page. Sign in, and you are greeted with this:
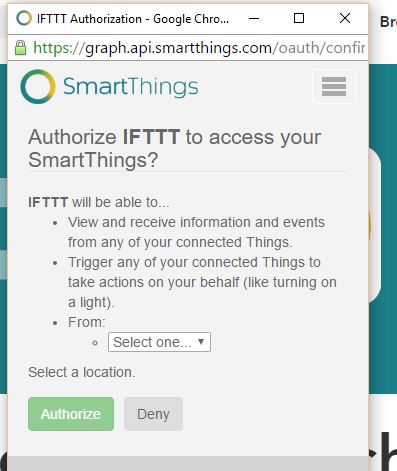
Pick the Hub/Location that you want to integrate with IFTTT. When you do, you are shown a list of devices connected to your SmartThings hub:

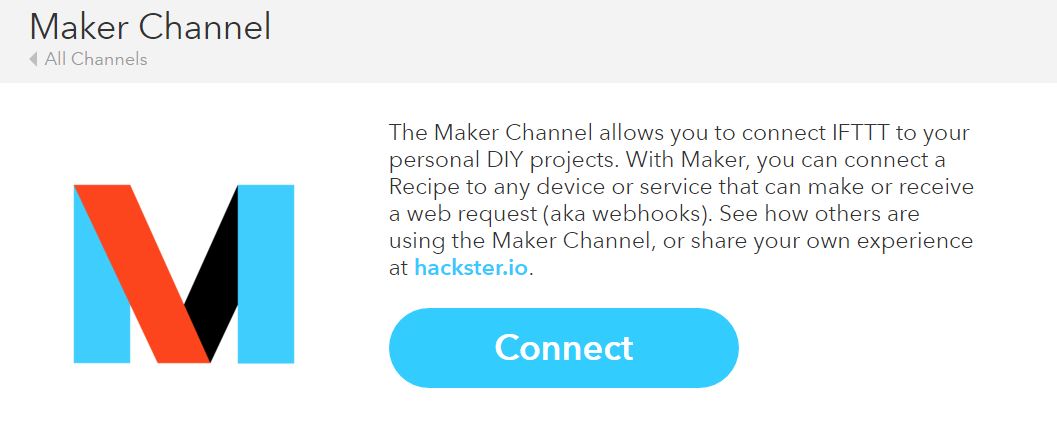
Select the devices you want to control, and press the “Authorize” button. You will be taken back to IFTTT. Don’t try to add any recipes yet – we need one more channel to make this work. In order to get IFTTT to trigger, we can use either the DO channel/app (which I am going to ignore in this demo), or we can use the Maker channel. Search for, and add the Maker channel just like we did for the SmartThings channel.
When you add the Maker Channel, a key is automatically generated for you. Keep this key handy – we will be using it soon. I am not showing you my key, cause I barely know you guys – and it is unique to my recipes.
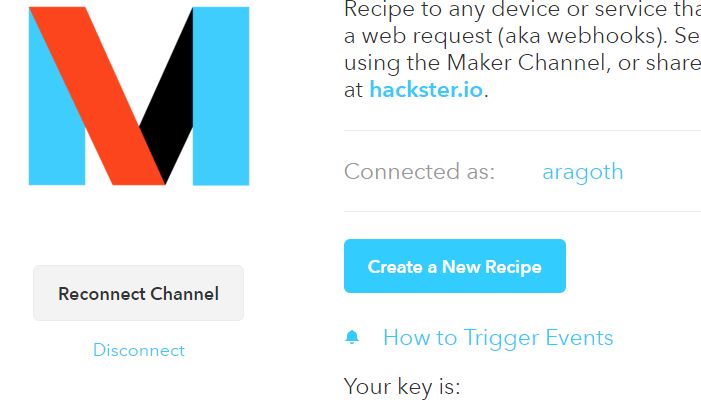
Great – now what? Let’s add a recipe!! Click the “Create a New Recipe button”, and you are shown the typical IFTTT recipe builder page that looks like:

Click on the “this” portion, and search for/select the Maker channel:

Pick the “Receive Web Request” tile. We now need to name our trigger. These will be unique to each device, and unique to the function we are calling. For example, if I want to turn on and off my Man-Cave Lights, I need to specify two unique triggers. Leave out spaces in this name.
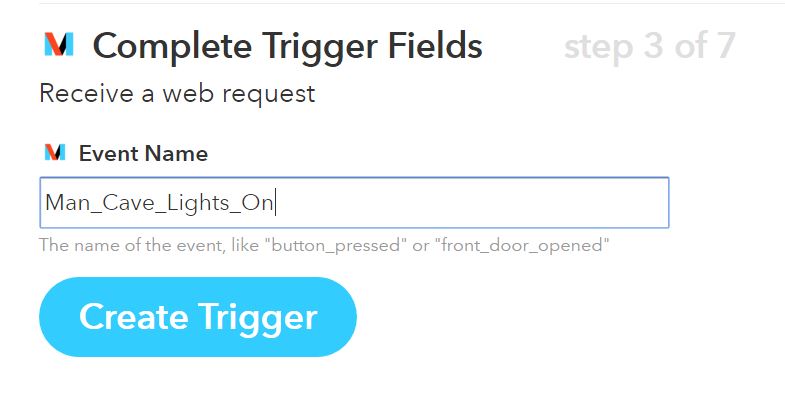
Create the trigger. BOOM – we are back the equation:

Click the ‘THAT’ section. We are dropped back to the channel search page – this time it’s the search for the Action channel – type in and select ‘SmartThings’. You should see a list of all the fun things that SmartThings brings to IFTTT.
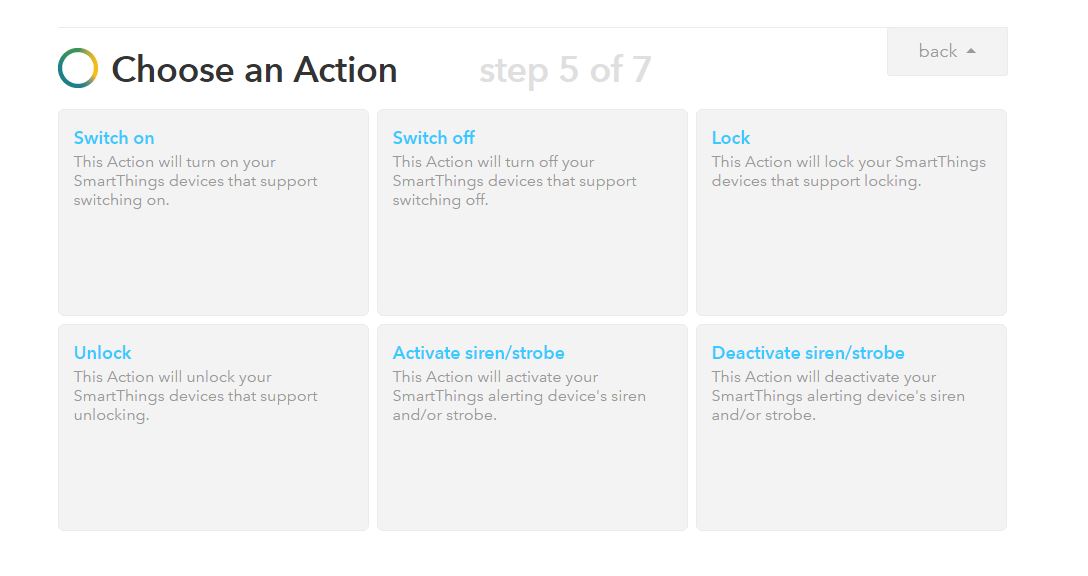
Choose the ‘Switch On’ tile. You can now pick the switch you want to interact with. In my example I will choose ‘Man Cave Lights’

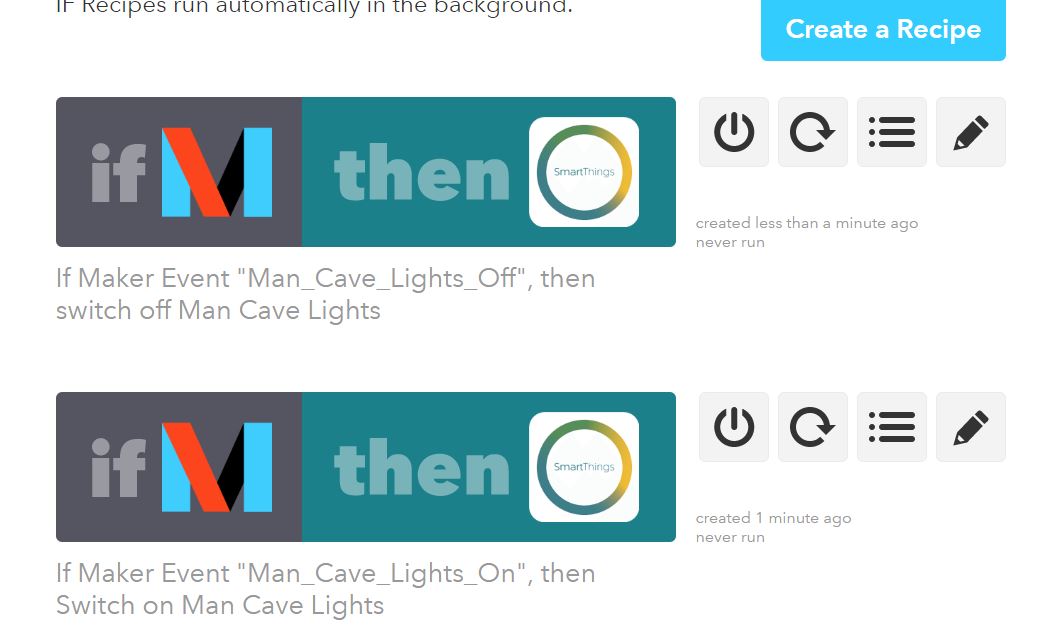
One final step – click “Create Recipe”. Done! Now, create another new recipe, following the same steps, except name the Maker trigger something like ‘Man_Cave_Lights_Off’, and make sure you select the ‘Switch Off’ tile in the action section. You should now have 2 recipes – one for turning the lights on, another for turning the lights off. If you check the My Recipes section, you should have something along the lines of these two:
We are done in IFTTT for the moment – let’s head over to PowerShell.
This is pretty straight-forward, actually. We need to craft a URL with this format: https://maker.ifttt.com/trigger/{event}/with/key/{key}. The {event} is the Maker event we specified when we created the recipe – they {key} is the unique key that was generated when we added the Maker channel. All we need to do is craft the URL and send the web-request.
$MakerKey = 'abcdefghijklmnopqrstuvwxyz'
$BaseURL = 'https://maker.ifttt.com/trigger/'
$EndURL = "/with/key/$MakerKey"
$event = 'Man_Cave_Lights_On'
$url = $BaseURL+$event+$endurl
Invoke-WebRequest -uri $url -UseBasicParsing|Select-Object -Property content
Again, we use the -UseBasicParsing parameter to keep from firing up IE initial config. If we have done everything right, we should be greeted with something along the lines of:
Content
——-
Congratulations! You’ve fired the Man_Cave_Lights_On event
Want proof? Here you go!
Once you add the Maker Channel, it opens a world of possibility up when it comes to IFTTT. For example, I later added my Harmony remote as a channel and was able to turn my AV system on and off and perform a large number of automations from PowerShell. Oh, the trouble we will get into….